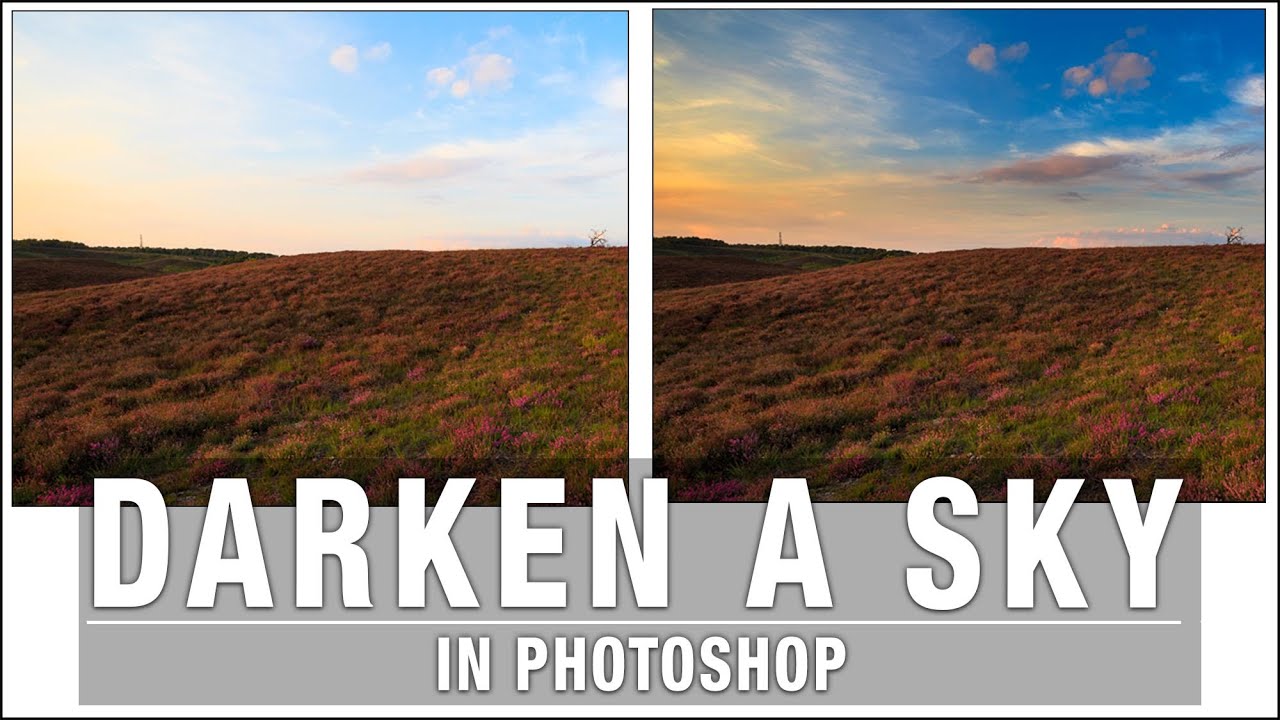
In this tutorial, I’ll show you how to darken a sky in Photoshop to get a perfectly balanced exposure. We will be replacing the sky by blending two separate exposures, one that’s been correctly exposed for the land and one that’s been correctly exposed for the sky.
In landscape photography, it is common to have the land exposed correctly with the sky too bright. There are many ways to replace a sky using Photoshop but, in my opinion, this has got to be the easiest. I am also going to give you access to the images I use in this tutorial so you can practice yourself at home. Please click the link below to get them.
Here we will use two exposures of the same scene. We'll then use a layer mask and Photoshop’s gradient tool to blend in the darker sky. To enhance the sky further we will be clipping adjustment layers to the sky.
I hope you liked this tutorial. If you did please like it, share with your friends and subscribe to the channel for more.
Support us:
Check out our Complete Guide to Photography Book here - [ Ссылка ]
Take your photography to the next level in our Online Courses here - [ Ссылка ]
Grab a Freebie:
Get our Free eBook for learners of photography here - [ Ссылка ]
Get 15 Free Lightroom Presets - [ Ссылка ]
Get the Best Music for your YouTube videos and other projects. Try for free here - [ Ссылка ]
Create a photography website with Squarespace. Try it for free here [ Ссылка ]
We upload new tutorials every fortnight and if there’s anything you want us to cover here at The School of Photography put it in the comments below, it gives us great ideas for new tutorials.
Sing onto our free online photography courses and get weekly tutorials delivered straight to your inbox at [ Ссылка ]
And join our learning community on social media
Facebook ► [ Ссылка ]
Instagram ► [ Ссылка ]
Pinterest ► [ Ссылка ]
Download the images here - [ Ссылка ]
Thanks for watching and remember – Learn more at The School of Photography.


