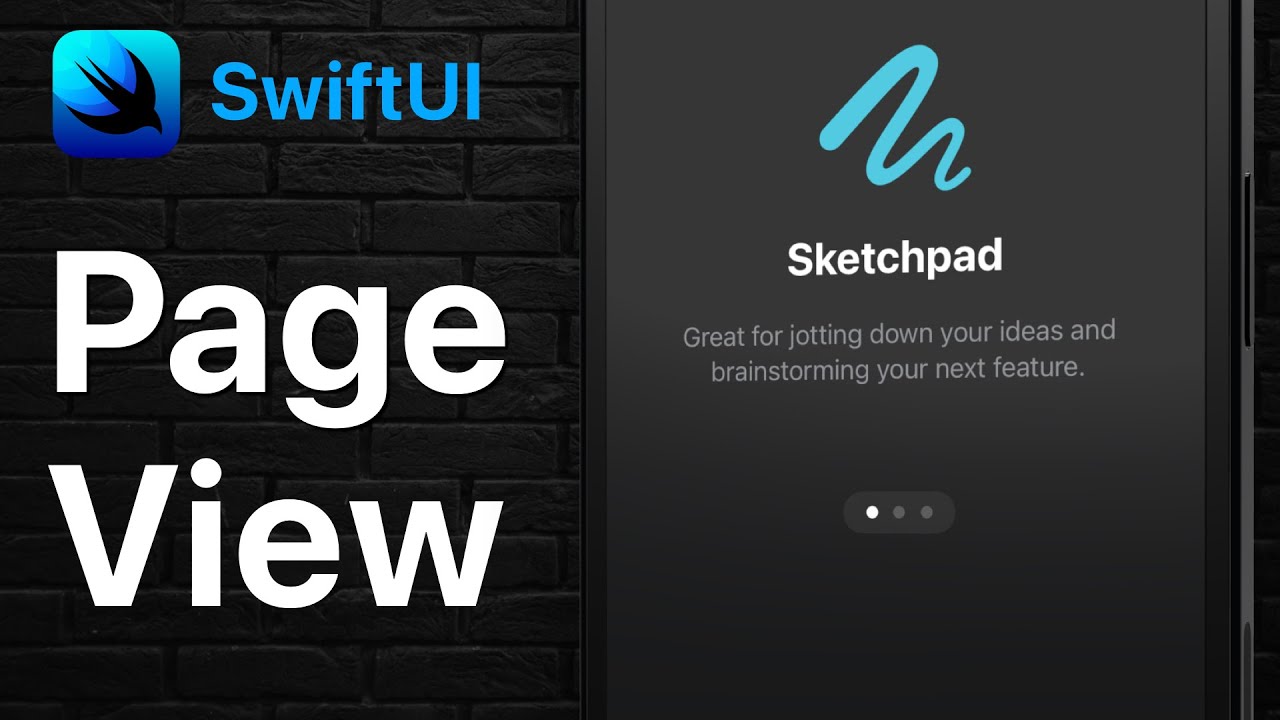
In today's video I show you how to create a TabView with the Page style in SwiftUI. This results in views that you can swipe through with dots at the bottom indicating which screen you are on. This is typically found in onboard views.
This video was created on Xcode 13 and iOS 15 (beta).
If you like my teaching or presentation style, I've started creating my own courses:
[ Ссылка ]
SFSymbols Video:
[ Ссылка ]
Twitter:
[ Ссылка ]
Link to my book - How I Became an iOS Developer:
[ Ссылка ]
Hired.com:
[ Ссылка ]
Check out my podcast, iOS Dev Discussions:
[ Ссылка ]
Book and learning recommendations that help out the channel if you decide to purchase (Affiliate Links):
Paul Hudson's Hacking With Swift:
[ Ссылка ]
Donny Wals - Combine:
[ Ссылка ]
Mark Moeyken’s SwiftUI Books:
www.bigmountainstudio.com/swiftui-views-book/fzc51
Objc.io Books (Thinking in SwiftUI & Advanced Swift):
[ Ссылка ]
Ray Wenderlich Books:
[ Ссылка ]
Links to my iOS Dev Setup & iOS Dev Book Recommendations
[ Ссылка ]
#swift #softwaredeveloper #iosdeveloper
SwiftUI Page View | Onboard Flow
Теги
SwiftSwift TutorialiOS DeveloperiOS DevelopmentSwiftUISwiftUI 3SwiftUI Page ViewSwiftUI PagesSwiftUI Page ControlSwiftUI Page View ControllerSwiftUI PagerSwiftUI PageTabViewStyleSwiftUI Paged ScrollViewSwiftUI Pager ViewSwiftUI Page IndicatorSwiftUI Page ScrollSwiftUI Page DotsSwiftUI tabViewSwiftUI OnboardSwiftUI OnboardingSwiftUI Onboard ScreenSwiftUI Onboard FlowSwiftUI Onboarding TutorialSwiftUI Onboarding Example