Learn how to combine two images and blending effects to create a double exposure effect in Adobe Photoshop CC. See steps below and download Photoshop to get started: [ Ссылка ]
Prep your project:
1. Download practice files ([ Ссылка ]). Or, use your own!
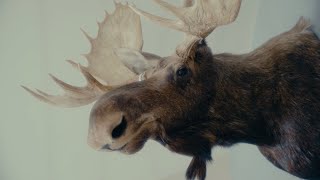
2. Open bison.jpg in Photoshop.
3. Open snow.jpg. To add it to bison document, Select All, Copy, make Bison doc active, and Paste.
Work mostly in the Layers panel
1. Click the snow layer to select it.
2. Select 'Screen' from the blend modes drop down.
3. Lower opacity to about 76%.
4. Add a Layer Mask. Click the “Add layer mask” icon at bottom of Layers palette.
5. Select the Brush tool and adjust brush size and hardness from the top palette. Set fore/background to default Black/White.
6. Paint with black on the Layer Mask to reveal more detail on the bison layer, or paint with white to hide detail: Make sure the white thumbnail on the snow layer is selected when you paint.
7. Add adjustment layer: Click “Add a new fill or adjustment layer” icon at bottom of Layers palette, then choose Gradient.
8. Choose a gradient color combo, OK.
9. Choose ‘Overlay' blend mode.
That's it!
To learn more, visit our Photoshop Tutorials page: [ Ссылка ]
Subscribe to Adobe Creative Cloud: [ Ссылка ]
Download Adobe Express: [ Ссылка ]
Learn More: [ Ссылка ]
About Adobe Creative Cloud:
Adobe Creative Cloud gives you the world's best creative apps so you can turn your brightest ideas into your greatest work across your desktop and mobile devices.
Connect with Adobe Creative Cloud:
Twitter: [ Ссылка ]
LinkedIn: [ Ссылка ]
Facebook: [ Ссылка ]
Instagram: [ Ссылка ]
#AdobePhotoshop
How to Make a Double Exposure Effect in Photoshop | Adobe Creative Cloud
[ Ссылка ]


