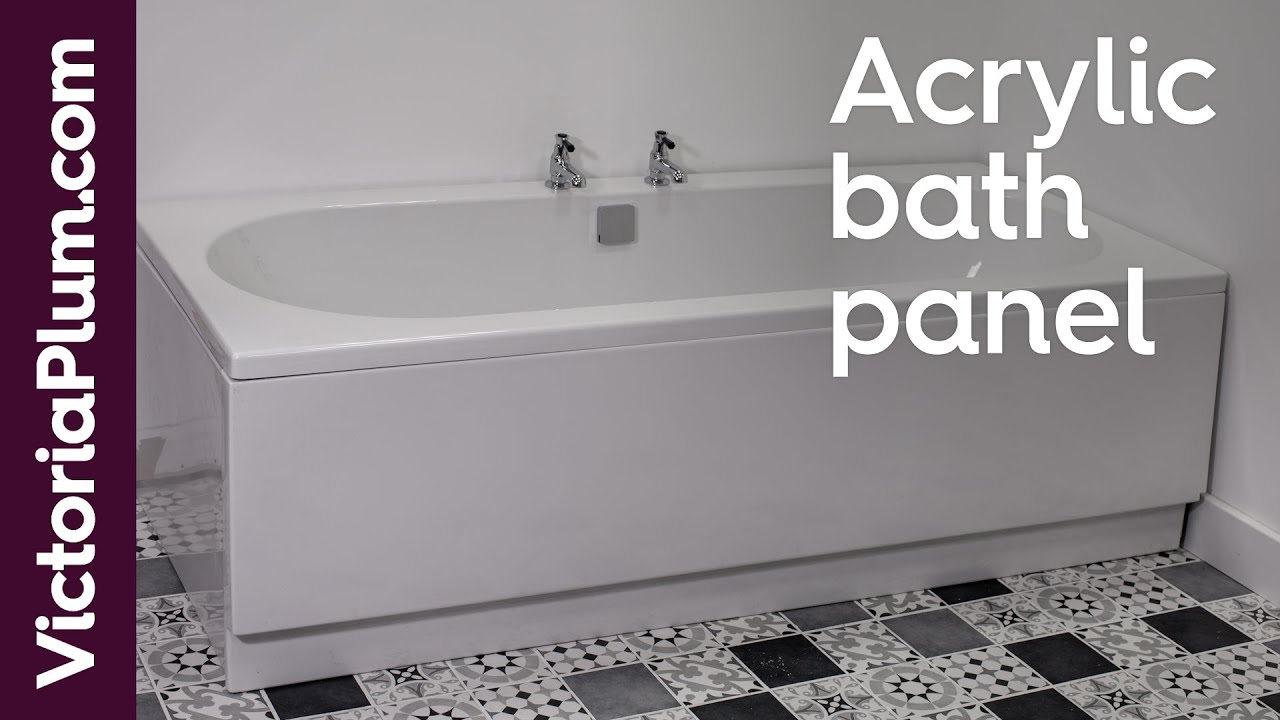
In this video, we will show you just how easy it is to fit an acrylic bath panel.
An acrylic bath panel is a quick and effective way of covering the side of your bath.
For a new bath or to refresh your existing one, you can find the perfect panel in a range of styles and sizes on our website.
Remember to always consult a professional fitter if you aren’t comfortable with more complicated DIY tasks.
And if you are fitting the bath too, head over to our How to fit a bath video and watch that first.
Start by offering up the new panel to the side of the bath.
Make note of any skirting boards, pipes or uneven surfaces. Then make the necessary adjustments to the panel.
Place the panel back in position against the bath and using a spirit level, check that the panel fits correctly.
For the next step, you will need a length of rebated timber for each panel you are fitting.
You can purchase this but a strip of timber fixed to a wooden batten will work just as well.
Now mark where the panel sits against the floor using your spirit level and line the timber up against these marks.
The rebate should allow enough room for the bottom lip of the panel. Using this as a guide, make the necessary adjustments to the battens position.
Using an electric drill, screw the timber batten to the floor. You may need to drill pilot holes in the surface beforehand.
And make sure to always check for pipes and wires using a detector before drilling into existing surfaces.
Place the panel lip under the rim of the bath, then slide the bottom of the panel into place.
If you intend on fitting an end panel, simply repeat the previous steps to fit these.
For more diy and bathroom trends, follow us below
Connect with us:
Facebook - [ Ссылка ]
Instagram - [ Ссылка ]
Pinterest - [ Ссылка ]
Twitter - [ Ссылка ]
TikTok - [ Ссылка ]


![Пару минут и тебя накроет! | MEOW - 2 серия [4K]](https://s2.save4k.ru/pic/pNBJ8gGhX88/mqdefault.jpg)