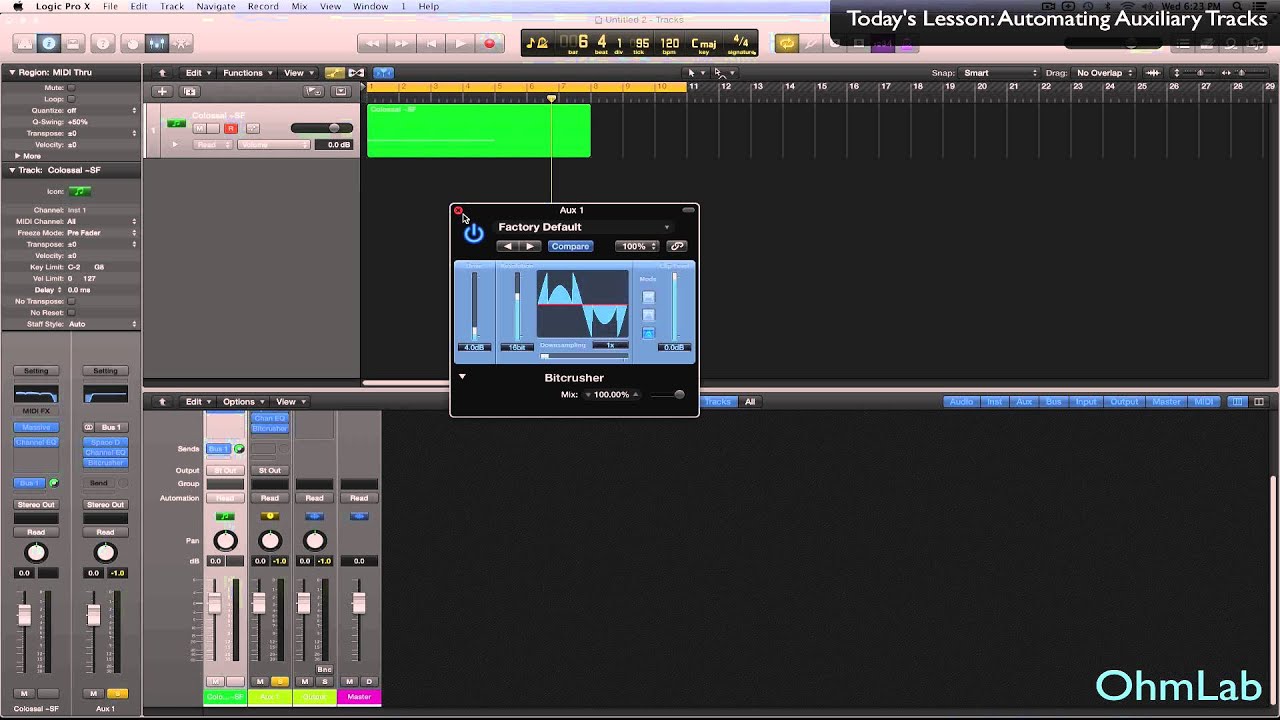
This quick tips will help in automating auxiliary tracks, and the plugins used on them, as you would normal tracks in your projects.
We get questions about automating auxiliary tracks quite a bit and wanted to take the time to share the steps necessary to accomplish it. The key is to have the auxiliary tracks added to your arrangement window, where the automation programming actually takes place. Adding your auxiliary tracks to your project's arrangement window will also allow you to re-order the tracks in your mixer view, in Logic Pro, to help keep things more organized and to your liking.
Automating auxiliary tracks is a great way to further extend the capabilities and options of parallel processing and alternate routing techniques in general. You can modulate parameters in just the effects while leaving the original sound intact. You can isolate just the kick on a drum track, for instance, on an auxiliary channel and then apply some compression, distortion or whatever kind of treatment you feel it needs for the music you are creating. In fact, there are countless ways you can put this knowledge to good use in your projects!
If you are moving aux tracks to your arrangement window simply to re-order them in the mixer view, you can delete them form the arrangement window once you have them placed where you want them. If you are automating auxiliary tracks in your project, you obviously need to keep them in your arrangement window for the automation programming to be applied. Using automation on these supplemental tracks in your music will eventually lead to new and innovative ideas and ways to route and use modulation to further enhance your music.
Cheers,
OhmLab


![¿EL FIN DE LA MINERIA? - ETHEREUM 2.0 - PatagoniaMining [4K]](https://i.ytimg.com/vi/1s06p9jZXnM/mqdefault.jpg)


